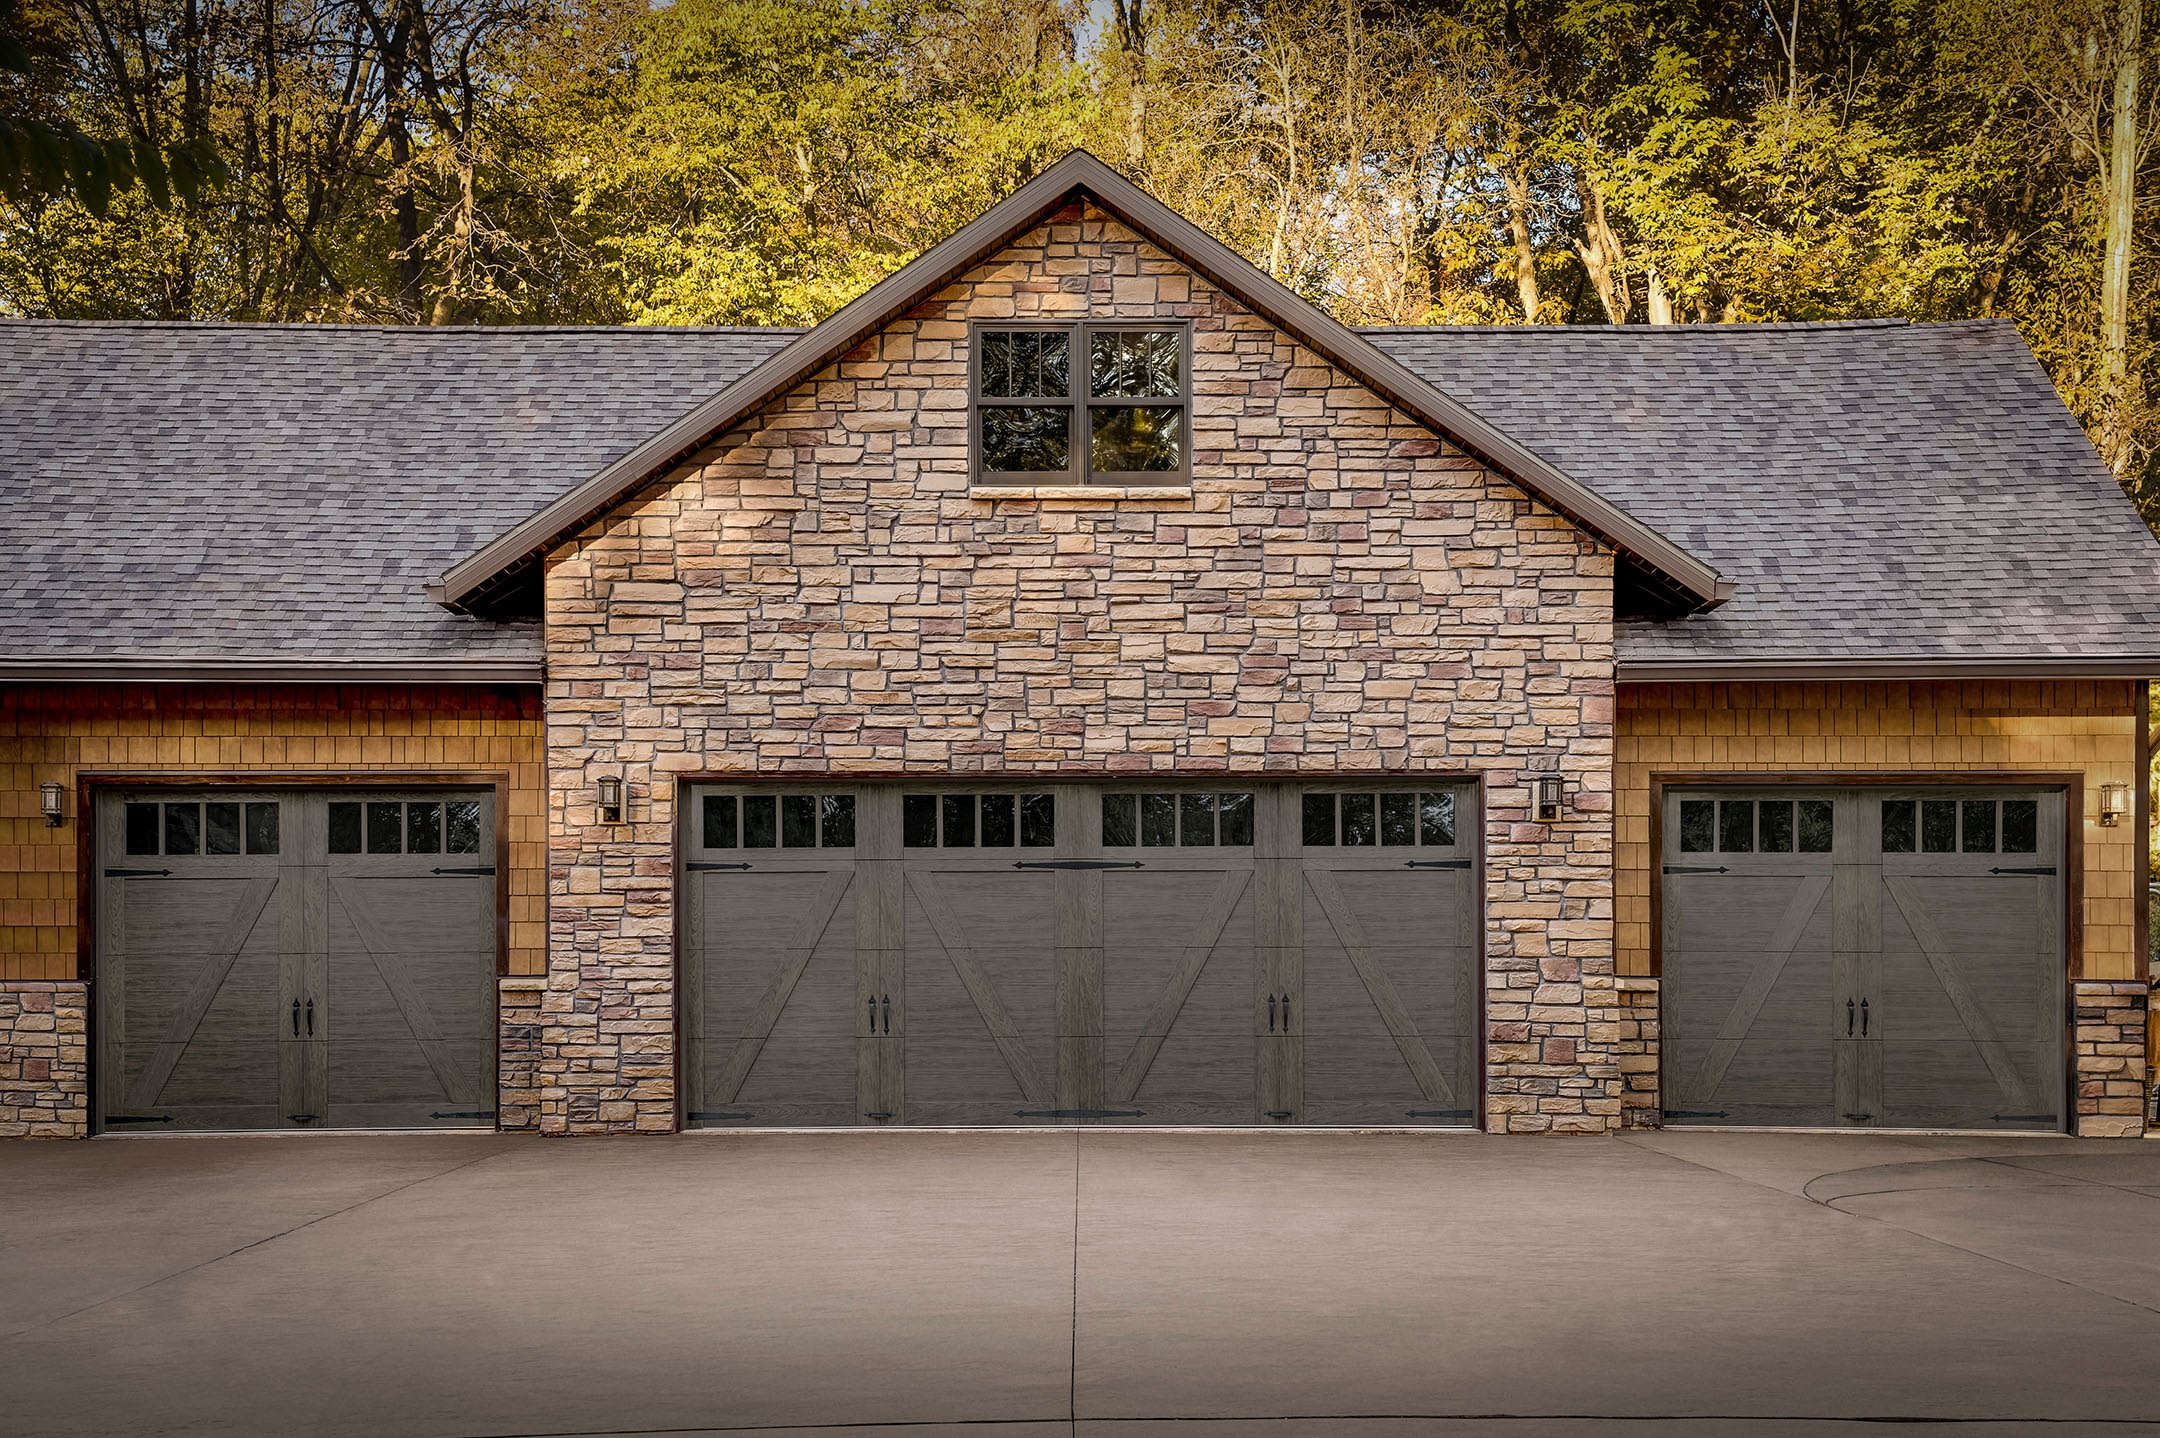
Learning how to paint a garage door is one of the highest-impact upgrades a homeowner can tackle, refreshing the largest visible surface on most homes for the cost of primer and paint. The difference between a professional-looking result and one with visible brush marks comes down almost entirely to prep and technique. This guide walks through the seven steps to a clean finish, the right products for steel and wood doors, and the details that make the paint last in the Louisville, KY climate.
Here is what you will learn:
- The 7-step process: A clear sequence from cleaning to final coat for a smooth finish.
- The right products: Which primer and paint to use on steel versus wood doors.
- Pro technique tips: How to avoid brush marks and get a factory-smooth result.

What You Need To Know Before Painting a Garage Door
Before you open a can of paint, a little planning on timing, weather, and materials makes the difference between a finish that lasts and one that peels. This section covers what to know and gather first.
Choosing the Right Paint and Primer
The right products for a garage door are a rust-inhibiting or bonding primer and a high-quality 100 percent acrylic exterior latex paint. For steel doors, a rust-inhibitive metal primer is essential because paint applied directly to bare steel will eventually peel, especially at the panel edges where moisture collects. Wood doors call for a quality exterior wood primer instead. For the topcoat, a satin or semi-gloss finish is ideal, since these dry hard, resist scuffs, hold up in humid or wet weather, and wipe clean easily.
- Primer by material: Rust-inhibitive metal primer for steel, exterior wood primer for wood.
- Paint type: A high-quality 100 percent acrylic exterior latex is the standard choice.
- Finish sheen: Satin or semi-gloss dries hard and resists scuffs and moisture.
- Skip bare steel: Never paint steel without primer, or it will peel at the edges.
Picking the Right Weather and Timing
The best time to paint a garage door is a mild, dry day with moderate temperatures and low humidity, and out of direct sun. Painting in direct sunlight causes the paint to dry too fast, leaving brush marks and poor adhesion, so an overcast day or a shaded door works better. Check the paint can for the manufacturer’s recommended temperature range, and avoid days when rain is expected before the finish can cure. Because the process involves multiple coats with dry time between each, plan for the project to span most of a day or longer.
- Mild and dry: Choose moderate temperatures, low humidity, and no rain in the forecast.
- Avoid direct sun: Sunlight dries paint too fast and causes brush marks.
- Check the label: Follow the paint’s recommended temperature range.
- Allow dry time: Plan for multiple coats with drying between them.
7 Steps To Paint a Garage Door for a Clean Finish
Painting a garage door for a clean finish comes down to following the steps in order and not rushing the prep. Read through all seven before you start, since the early cleaning and priming steps determine how the final coats look.
1. Disconnect the Opener and Prepare the Area
Start by unplugging the garage door opener and pulling the manual release so you can move the door by hand as you work. This prevents the door from moving on its own while you paint and lets you reposition panels for better access. Lay a drop cloth or tarp under the door to protect the garage floor and driveway from drips, and gather your brushes, roller, primer, and paint. Working with the door in manual mode gives you the control to paint each panel cleanly.
- Unplug the opener: Disconnect power and pull the manual release for hand operation.
- Protect the ground: Lay a drop cloth or tarp under the door for drips.
- Gather materials: Have brushes, a foam roller, primer, and paint ready.
- Manual control: Moving the door by hand improves access and precision.
2. Clean the Door Thoroughly
Wash the entire door with a mild detergent or degreaser to remove the road grime, exhaust residue, and oxidation that prevent paint from adhering. Garage doors collect a concentrated layer of dirt because they sit low and face the street, so scrub the full surface including edges and recesses with a sponge or soft brush. For mildew stains, a solution of TSP, bleach, and warm water works well, followed by a thorough rinse. Let the door dry completely before moving on, since paint will not bond to a damp or dirty surface.
- Use a degreaser: Mild detergent or degreaser removes grime, exhaust, and oxidation.
- Scrub everywhere: Clean edges and recesses, not just the flat faces.
- Treat mildew: A TSP and bleach solution handles mildew stains, then rinse well.
- Dry completely: Paint will not adhere to a damp or dirty door.
3. Sand and Remove Rust
Sand the door lightly to smooth rough edges and give the primer something to grip, and remove any rust from steel doors. Use 80 to 220-grit sandpaper depending on how rough the surface is, or a scuff pad to dull the existing finish so the primer bonds well. On steel doors, loosen and remove rust with a wire brush before sanding those spots smooth, taking care not to scratch any glass windowpanes. Wipe the door down with a clean cloth afterward to remove all sanding dust before priming.
- Scuff the surface: Sand with 80 to 220-grit to give primer grip.
- Remove rust: Use a wire brush on steel to clear rust before sanding smooth.
- Protect glass: Avoid scratching windowpanes while sanding.
- Wipe clean: Remove all dust with a cloth before priming.

4. Tape Off and Protect
Apply painter’s tape around everything you do not want painted, including windowpanes, trim, gaskets, and hardware. Careful taping is what separates a crisp, professional edge from a messy one, so take your time pressing the tape down firmly to prevent paint from bleeding underneath. Cover any handles, locks, and decorative hardware, and double-check that the drop cloth still protects the floor. This step is quick but has an outsized effect on how clean the finished result looks.
- Tape the edges: Mask windowpanes, trim, gaskets, and hardware.
- Press firmly: Seal the tape down to stop paint from bleeding under it.
- Cover hardware: Protect handles, locks, and decorative accents.
- Check the floor: Confirm the drop cloth is still in place.
5. Apply the Primer
Prime the door with the appropriate primer for your material, starting at the top and working down. Use a brush to cut in around the trim and to reach into the recessed panels and the lips between horizontal sections, then use a foam roller for the flat surfaces. On steel doors, make sure any bare or rusted spots are fully covered with rust-inhibitive primer to prevent future peeling and corrosion. Allow the primer to dry fully according to the manufacturer’s instructions, which can be up to 12 hours, before painting.
- Work top down: Start at the top panel and move downward.
- Brush then roll: Cut in recesses with a brush, then roll the flat faces.
- Cover bare metal: Fully prime any exposed or rusted steel.
- Respect dry time: Let primer cure fully, up to 12 hours, before painting.
6. Paint the First Coat
Apply the first coat of acrylic exterior latex the same way you primed, using a brush for the recesses and a foam roller for the flat panel faces. Paint the recessed panels first, then move outward to the flat stiles and rails, working in the direction of the panel geometry to keep strokes consistent. Apply thin, even coats rather than one thick layer, since thin coats dry smoother and are far less likely to run or show brush marks. Slightly open the door as needed so the panels do not stick together while the paint dries.
- Brush and roller: Foam roller on flat faces, brush for recessed details.
- Panels first: Paint recessed sections, then the surrounding stiles and rails.
- Thin coats: Apply light, even layers to avoid runs and brush marks.
- Prevent sticking: Crack the door open so panels do not stick while drying.
7. Apply the Second Coat and Finish
Once the first coat is fully dry, apply a second coat using the same technique for full, even coverage and a durable finish. Two coats in satin or semi-gloss produce the factory-smooth look most homeowners want and give the paint the durability to handle sun, rain, and daily cycling. After the final coat, carefully remove the painter’s tape while the paint is still slightly tacky to get the cleanest edges, then let everything cure fully before operating the door normally. Step back and inspect for any thin spots that need touching up.
- Second coat: A second even coat gives full coverage and durability.
- Factory-smooth look: Two coats in satin or semi-gloss deliver the cleanest finish.
- Remove tape carefully: Pull tape while paint is slightly tacky for crisp edges.
- Cure before use: Let the finish cure fully before running the door.
What Are Common Garage Door Painting Mistakes?
Most disappointing paint jobs come from a handful of avoidable mistakes, nearly all related to prep and product choice. This section covers what to avoid and when the job is better left to a professional.
According to Amarr, steel garage doors should be primed with a product designed to protect galvanized steel from rusting and then finished with a high-quality 100 percent acrylic exterior latex paint, and the manufacturer specifically advises against using oil-based paint on the door. Following the door maker’s own product guidance is the surest way to protect both the finish and any warranty.
Mistakes That Ruin a Garage Door Paint Job
The most common mistakes are skipping primer, painting in direct sun, applying coats too thick, and using the wrong paint. Paint applied to bare steel without primer peels at the edges within a season or two, while painting in hot sun leaves brush marks and weak adhesion. Thick coats run and show strokes, and oil-based paint on a door that should get acrylic latex is prone to bubbling. Rushing the dry time between coats also causes problems, since a coat that is not fully cured will not bond properly to the next.
- Skipping primer: Bare steel without primer leads to peeling at the edges.
- Painting in sun: Direct sunlight causes brush marks and poor adhesion.
- Coats too thick: Heavy layers run and reveal brush strokes.
- Wrong paint: Oil-based paint on the wrong door bubbles; use acrylic latex.
When To Call a Professional
Consider calling a professional if your door has significant rust or damage, if it is a specialty material, or if you would rather guarantee a flawless finish. Extensive rust or dents may need repair before painting, and a professional can assess whether the door is worth refinishing or due for replacement. Some homeowners also simply prefer to leave the multi-hour, multi-coat process to an expert who can deliver a consistent, durable result. If your door is old, failing mechanically, or beyond cosmetic help, a professional can advise on repair or replacement instead.
- Significant damage: Heavy rust or dents may need repair before painting.
- Specialty doors: Unusual materials benefit from professional assessment.
- Guaranteed finish: A pro delivers a consistent result without the labor.
- Aging doors: A professional can advise if replacement makes more sense.
Frequently Asked Questions
What kind of paint should I use on a garage door?
Use a high-quality 100 percent acrylic exterior latex paint on a garage door, paired with the right primer for your material. A satin or semi-gloss finish is ideal because it dries hard, resists scuffs, and holds up to weather. Avoid oil-based paint on steel doors, since manufacturers like Amarr advise against it.
Do I need to prime a garage door before painting?
Yes, priming is essential, especially on steel doors, because paint applied directly to bare metal will peel at the edges. Use a rust-inhibitive metal primer on steel and an exterior wood primer on wood doors. Priming ensures the topcoat adheres well and lasts.
Can I paint a garage door without removing it?
Yes, garage doors are painted in place, not removed. Disconnect the opener so you can move the door manually, and paint panel by panel from the top down. There is no need to take the door off its tracks.
How long does it take to paint a garage door?
Painting a garage door typically takes most of a day or longer, since the process includes cleaning, sanding, priming, and two coats of paint with drying time between each. Primer alone can need up to 12 hours to cure. Rushing the dry times is a common cause of a poor finish.
Can you paint a garage door a different color than it was?
Yes, you can paint a garage door a new color, though going from dark to light or vice versa may require an extra coat for full coverage. Proper priming helps the new color cover evenly. Check your homeowners association rules if you have one, since some restrict exterior colors.
How often should a garage door be repainted?
A well-painted garage door typically lasts several years before needing a refresh, though sun exposure, weather, and door material affect the timeline. Signs it is time to repaint include fading, chalking, peeling, or visible rust. Regular cleaning helps the finish last longer.

Why Cunningham Door & Window Is the Right Choice for Your Garage Door
Whether you are refreshing your garage door with a new coat of paint or discovering that the surface is hiding rust or damage underneath, Cunningham Door & Window is the trusted local expert for homeowners across Louisville, Saint Matthews, Prospect, Anchorage, Jeffersonville, New Albany, Crestwood, and La Grange. As the area’s oldest and largest overhead door company with three generations of experience and an authorized dealer for manufacturers like Amarr and Clopay, the team can assess whether your door is a good candidate for repainting or whether repair or replacement would serve you better. Because a paint job only looks as good as the door beneath it, having a professional evaluate any rust, dents, or mechanical wear protects both your effort and your investment. With expert installation, thorough maintenance service, and 24/7 emergency repair support, Cunningham helps keep your door looking and working its best.
If your garage door is faded, peeling, or showing signs of rust or damage, reach out to Cunningham Door & Window for expert guidance and request a free quote today. The team will inspect your door, explain your options clearly, and help you decide whether a refresh or a new door is the smarter move, so you can boost your curb appeal with confidence.